Release Notes
Installation
Install on Linux
Install on Kubernetes
Pluggable Components
Upgrade
Third-Party Tools
Authentication Integration
Cluster Operations
Quick Start
DevOps
User Guide
Configration Center
Logging
Developer Guide
API Documentation
Troubleshooting
FAQ
Access SonarQube and Jenkins
EditKubeSphere provides built-in SonarQube and Jenkins in the DevOps system. This document describes how to access them via their own console running on KubeSphere.
Prerequisite
You need to enable KubeSphere DevOps System first.
Access SonarQube
SonarQube is an open-source platform developed by SonarSource for continuous inspection of code quality to perform automatic reviews with code static analysis to detect bugs, code smells, and security vulnerabilities on 20+ programming languages.
Get SonarQube NodePort
Run the command to get the NodePort of SonarQube, for example, 31359 is the NodePort of SonarQube service:
$ kubectl get svc -n kubesphere-devops-system | grep ks-sonarqube-sonarqube
ks-sonarqube-sonarqube               NodePort    10.233.20.169   <none>        9000:31359/TCP   48m
Access SonarQube Console
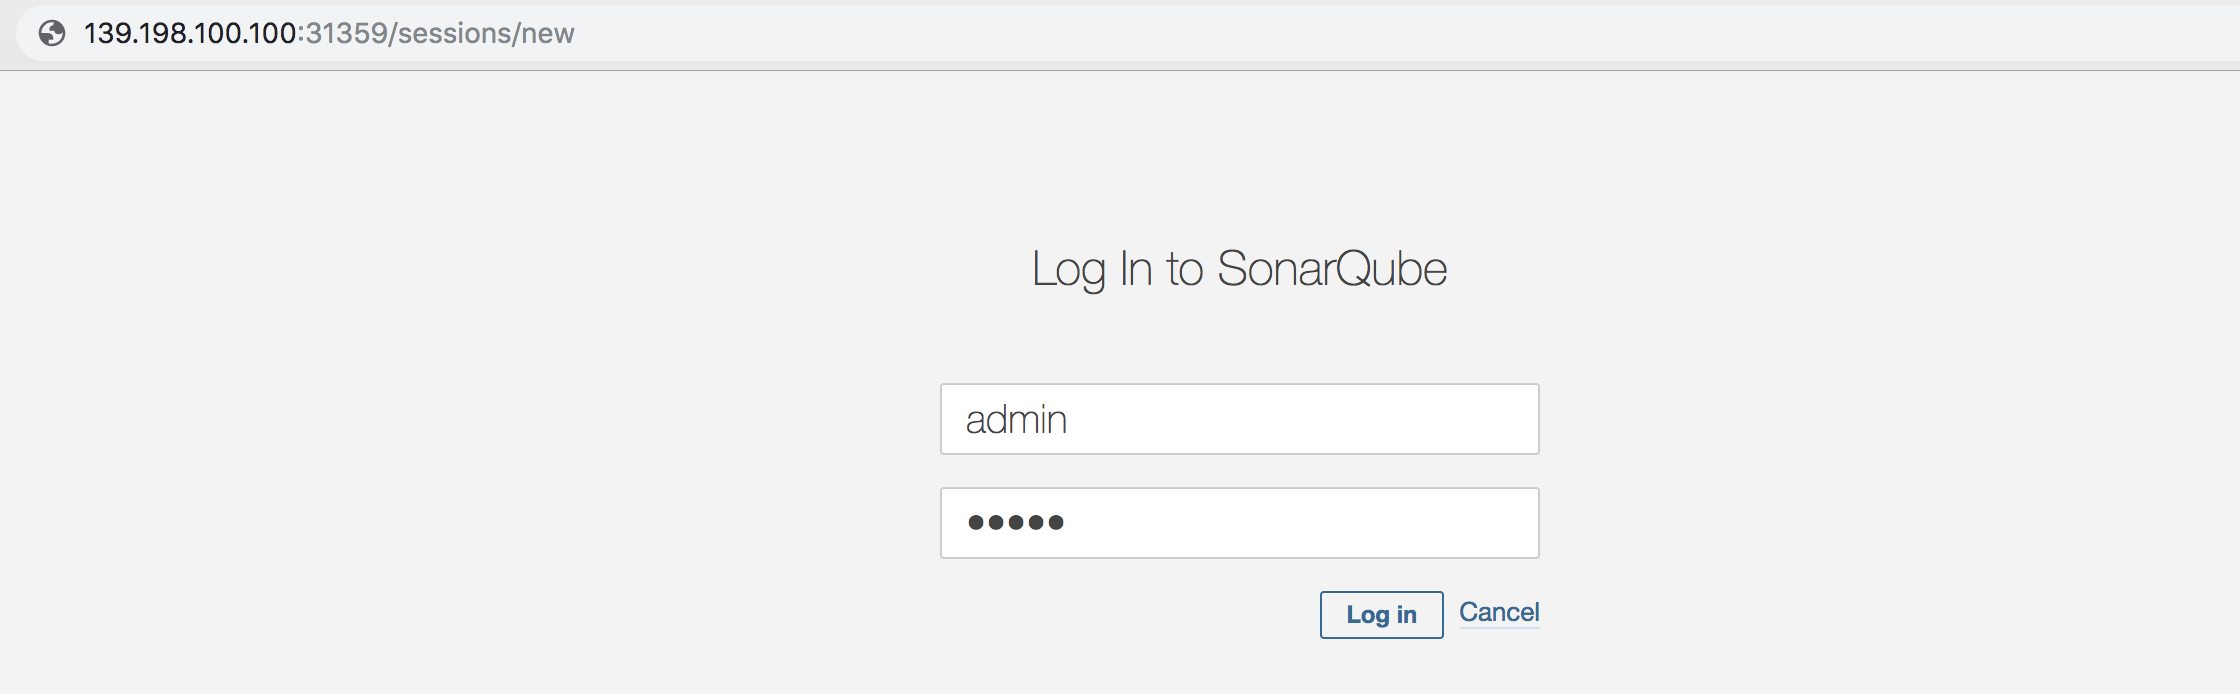
As follows, we can access SonarQube login page via http://{$NodeIP}:{$NodePort} in browser, use default account admin/admin to log in.
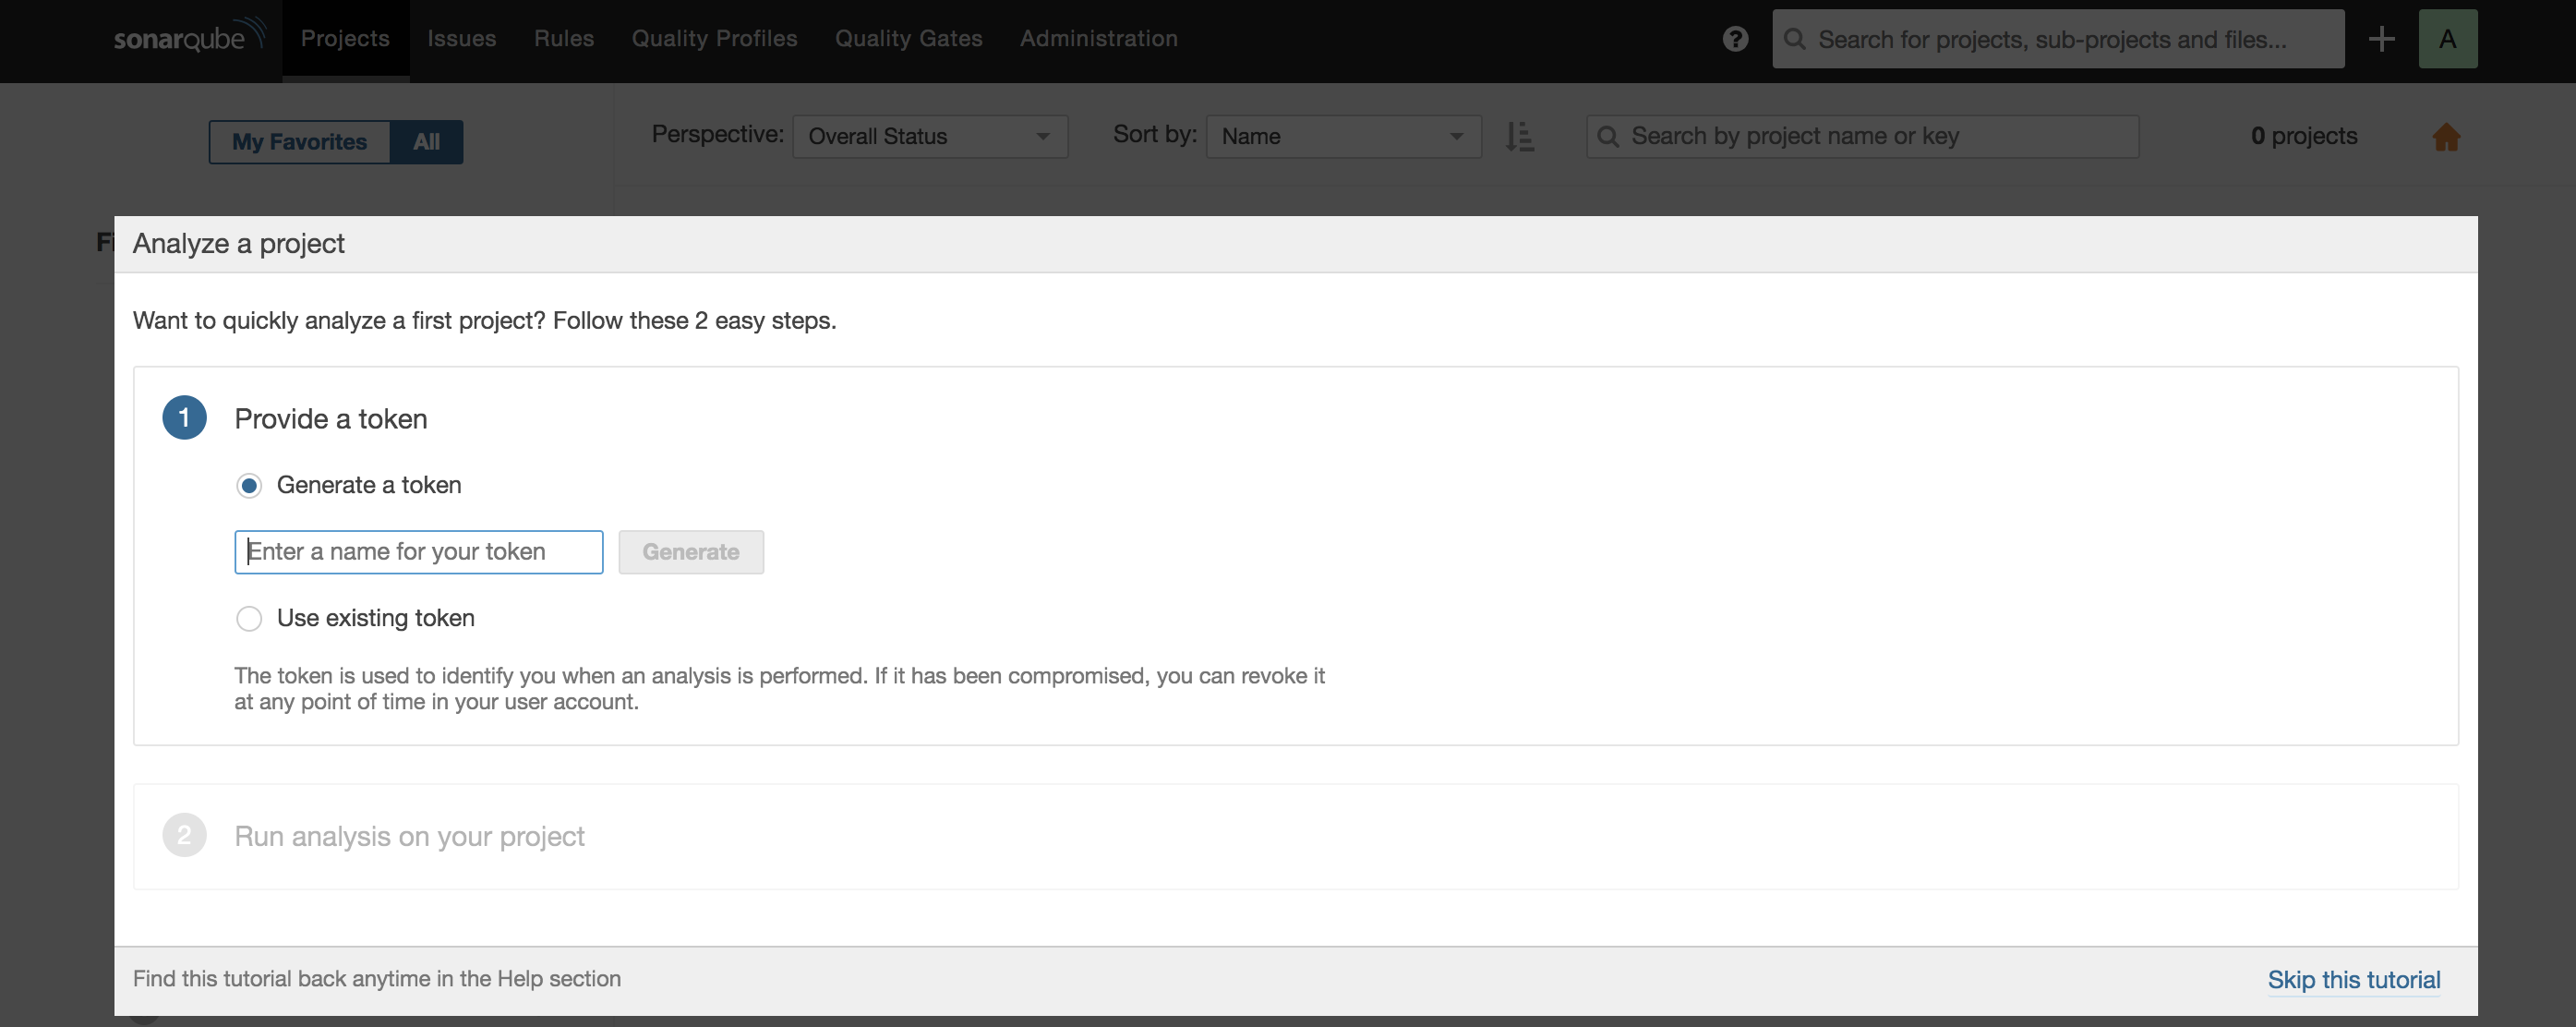
Create SonarQube Token
See How to create SonarQube Token.
For further information, see SonarQube Documentation.
Access Jenkins Server
Jenkins is an open source automation tool written in Java with plugins built for Continuous Integration purpose. KubeSphere integrates Jenkins to design and provide DevOps system, you can access built-in Jenkins server as follows.
-
The NodePort of Jenkins dashboard is
30180by default. Please make sure the traffic can pass through that NodePort. You may need to forward port and configure firewall to allow this rule in your cluster. -
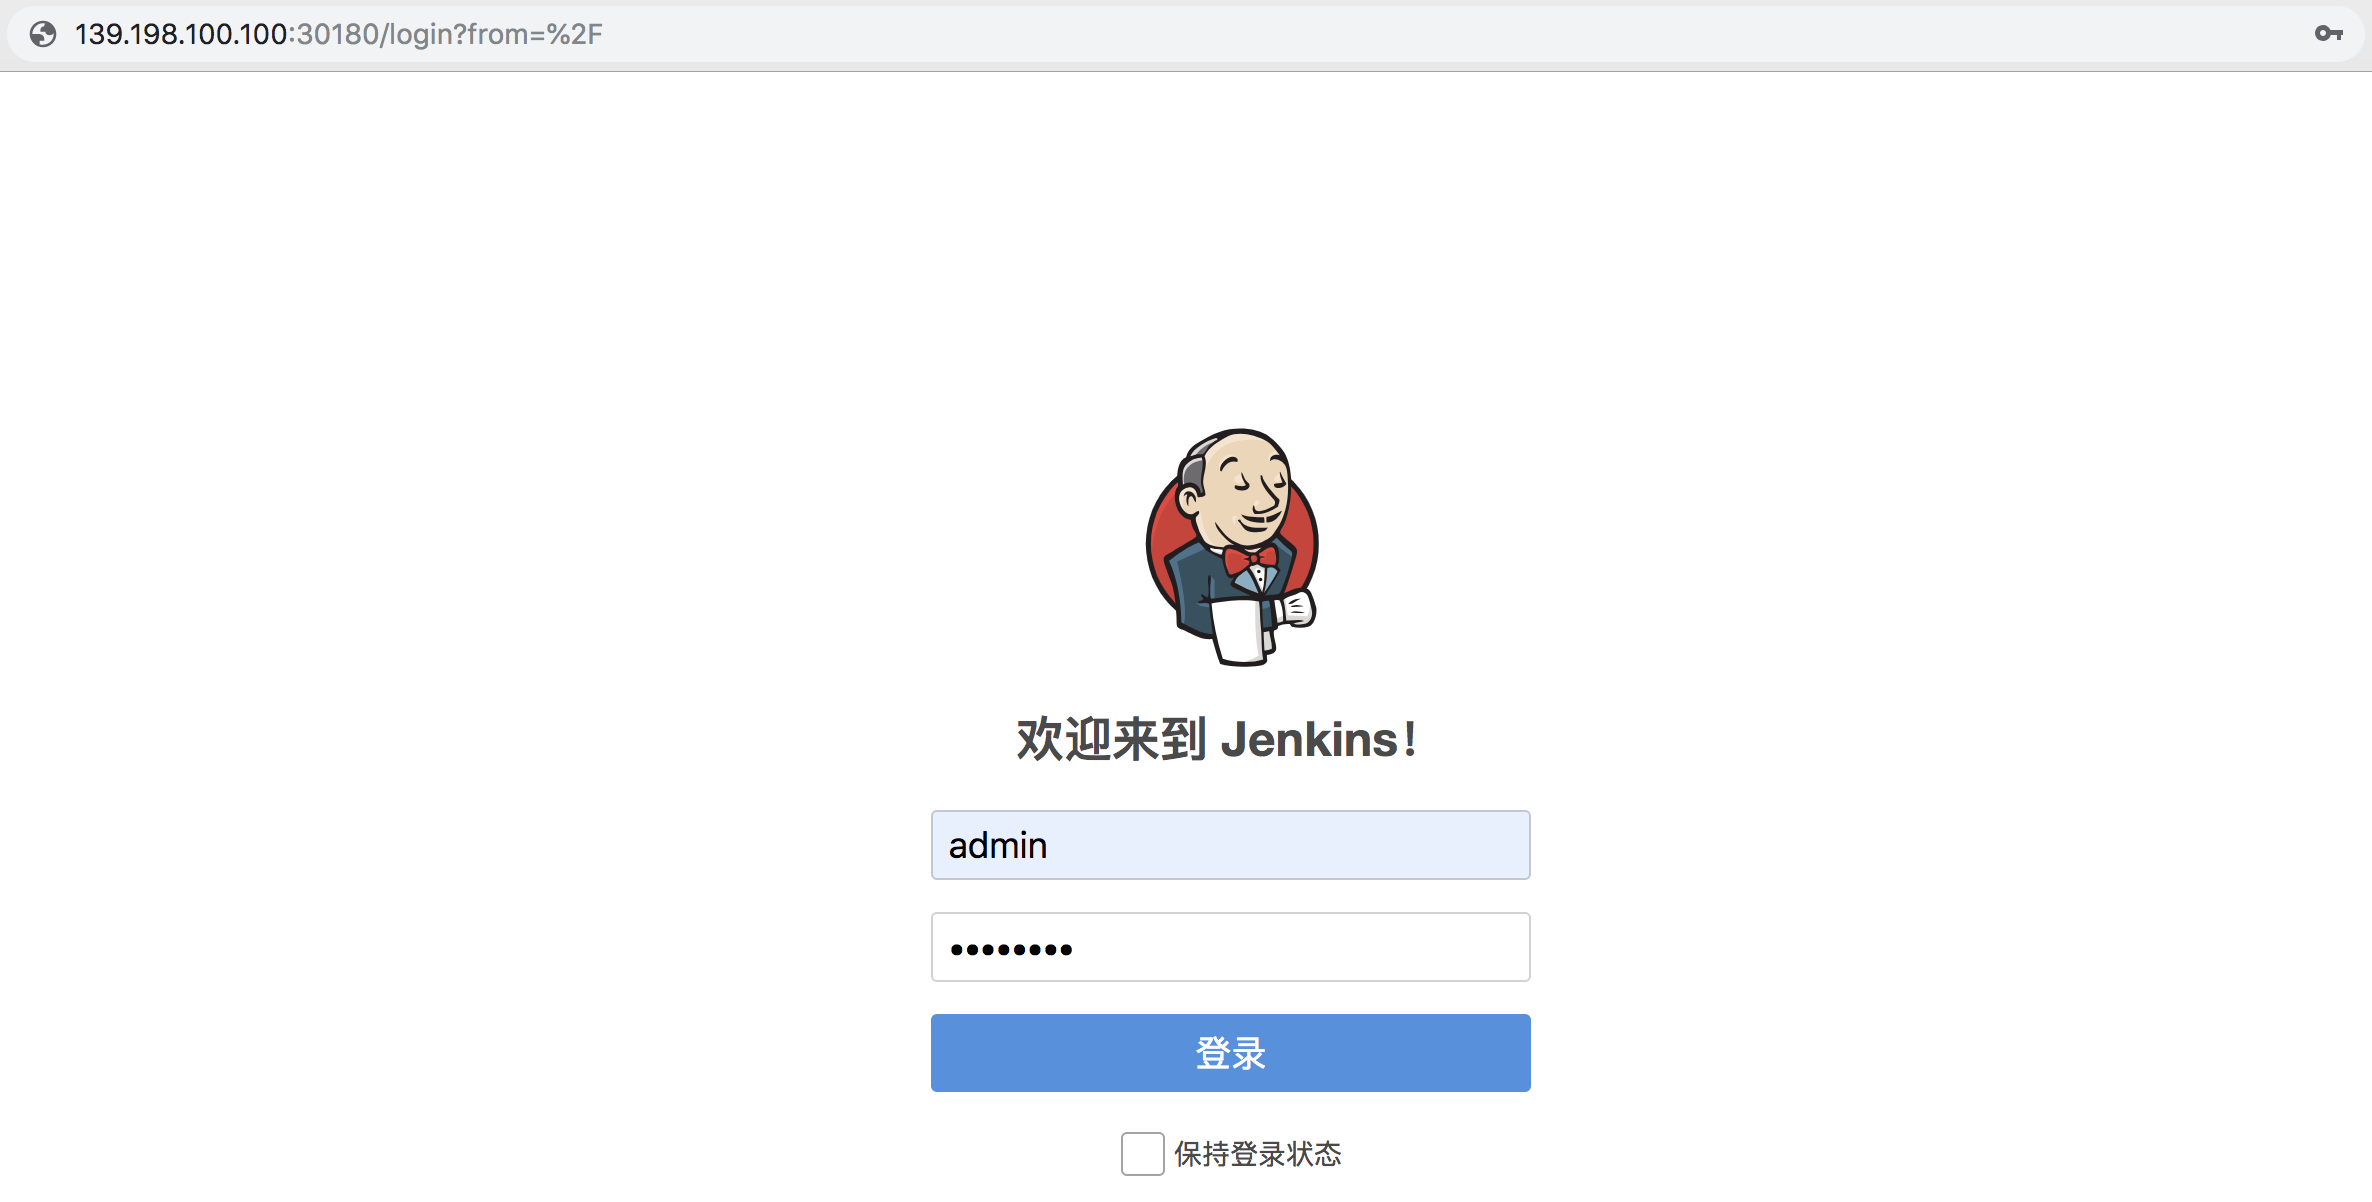
Access Jenkins server via
http://${NodeIP}:${NODEPORT}in your browser, use the default admin account of KubeSphere to log in since Jenkins server has connected with KubeSphere LDAP.
Reference Jenkins Documentation for further information.