v2.1
v2.0
v1.0
Release Notes
Installation
Install on Linux
Install on Kubernetes
Pluggable Components
Upgrade
Third-Party Tools
Authentication Integration
Cluster Operations
Quick Start
DevOps
User Guide
Configration Center
Logging
Developer Guide
API Documentation
Troubleshooting
FAQ
KubeSphere®️ 2020 All Rights Reserved.
Configure Harbor
EditIn private cloud or air-gapped environment, we usually set up our own image registry. This tutorial walks you through how to configure an image registry for KubeSphere to use. For simplicity, we will configure a registry with HTTP protocol, i.e., insecure registry. It is only for testing or development. For production environment, we recommended you to use image registry with HTTPS protocol.
We take Harbor image registry as an example.
Configure Insecure Registry
- Log in KubeSphere node via SSH, modify the systemd configuration in
/etc/systemd/system/docker.service.d/docker-options.conf.
Note: This example is only for Docker configuration in systemd. You can refer to Docker Documentation - Test an insecure registry for more information.
Please remember replace the address with your own insecure registry, e.g., Harbor address for the configuration below:
[Service]
Environment="DOCKER_OPTS= --insecure-registry=http://192.168.0.21:80 --data-root=/var/lib/docker --log-opt max-size=10m --log-opt max-file=3 "- Reload the Docker configuration.
systemctl daemon-reload- Restart Docker for the changes to take effect.
systemctl restart docker- Make sure the Harbor address has been added into Docker info:
$ docker info
···
Insecure Registries:
 192.168.0.31:80
···- Repeat these steps on every KubeSphere host to enable the insecure registry.
Test Registry Configuration
- Make sure you can log in to Harbor successfully.
$ docker login -u admin -p Harbor12345 http://192.168.0.31:80
WARNING! Using --password via the CLI is insecure. Use --password-stdin.
WARNING! Your password will be stored unencrypted in /root/.docker/config.json.
Configure a credential helper to remove this warning. See
https://docs.docker.com/engine/reference/commandline/login/#credentials-store

Login Succeeded- We can test the Harbor registry by pushing an image. Assuming we have image
nginx:1.14-alpinein local. Tag this image as follows:
docker tag nginx:1.14-alpine 192.168.0.31:80/library/nginx:1.14-alpine- Push the image to the Harbor registry.
docker push 192.168.0.31:80/library/nginx:1.14-alpine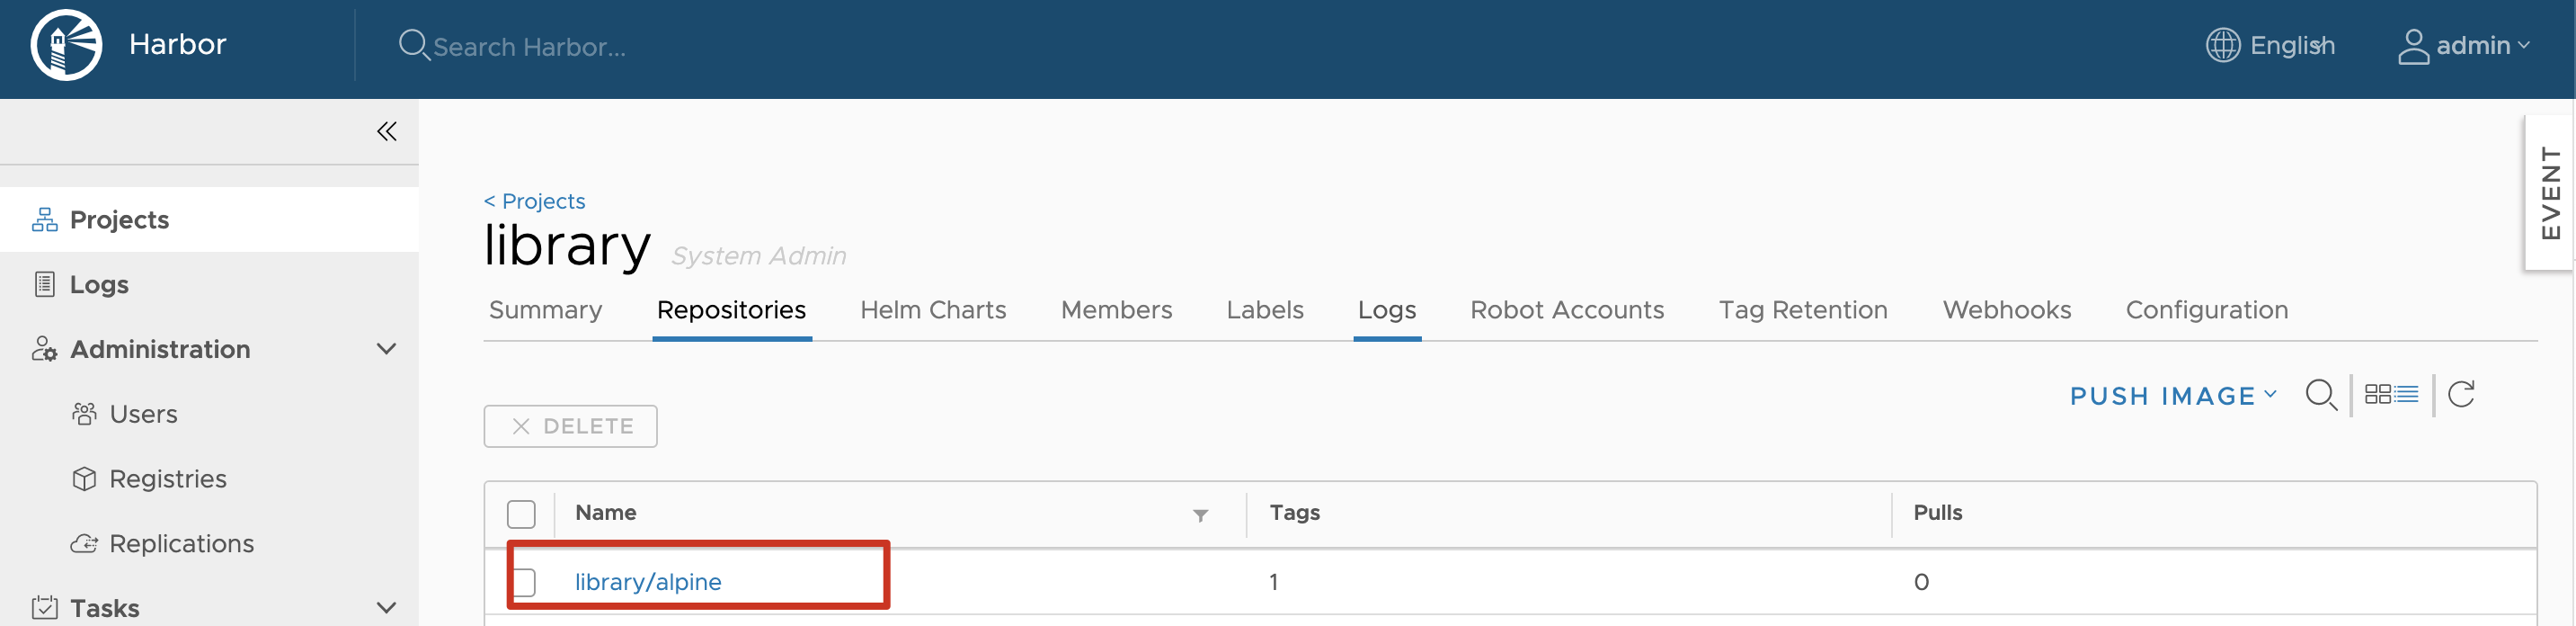
- The screenshot above shows the image is pushed to the registry, which means the Harbor registry has been added in the node's Docker configuration.